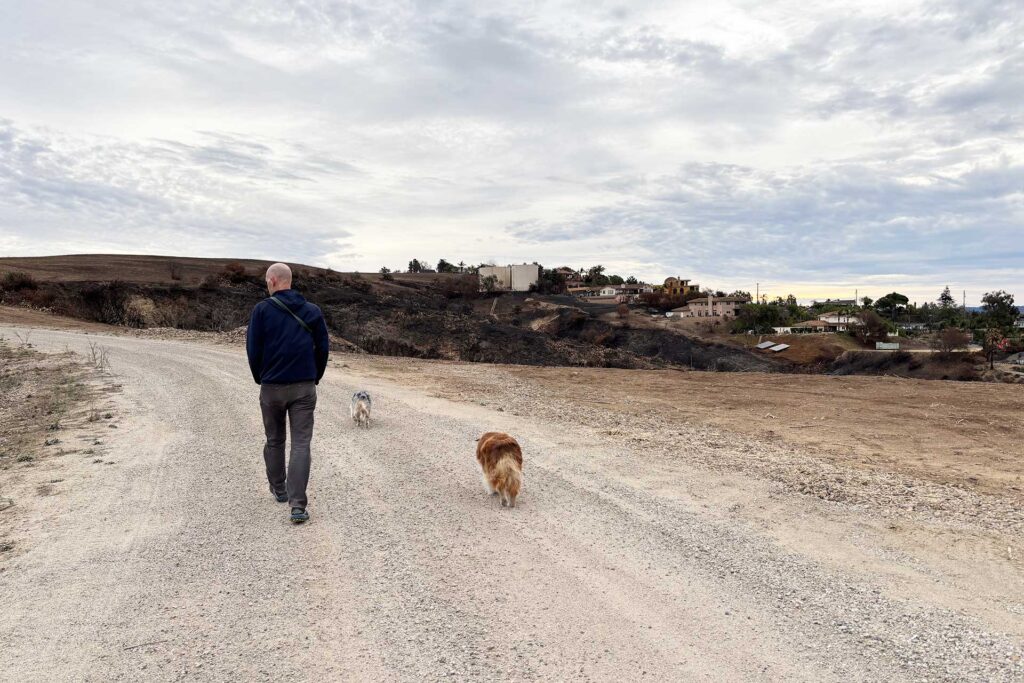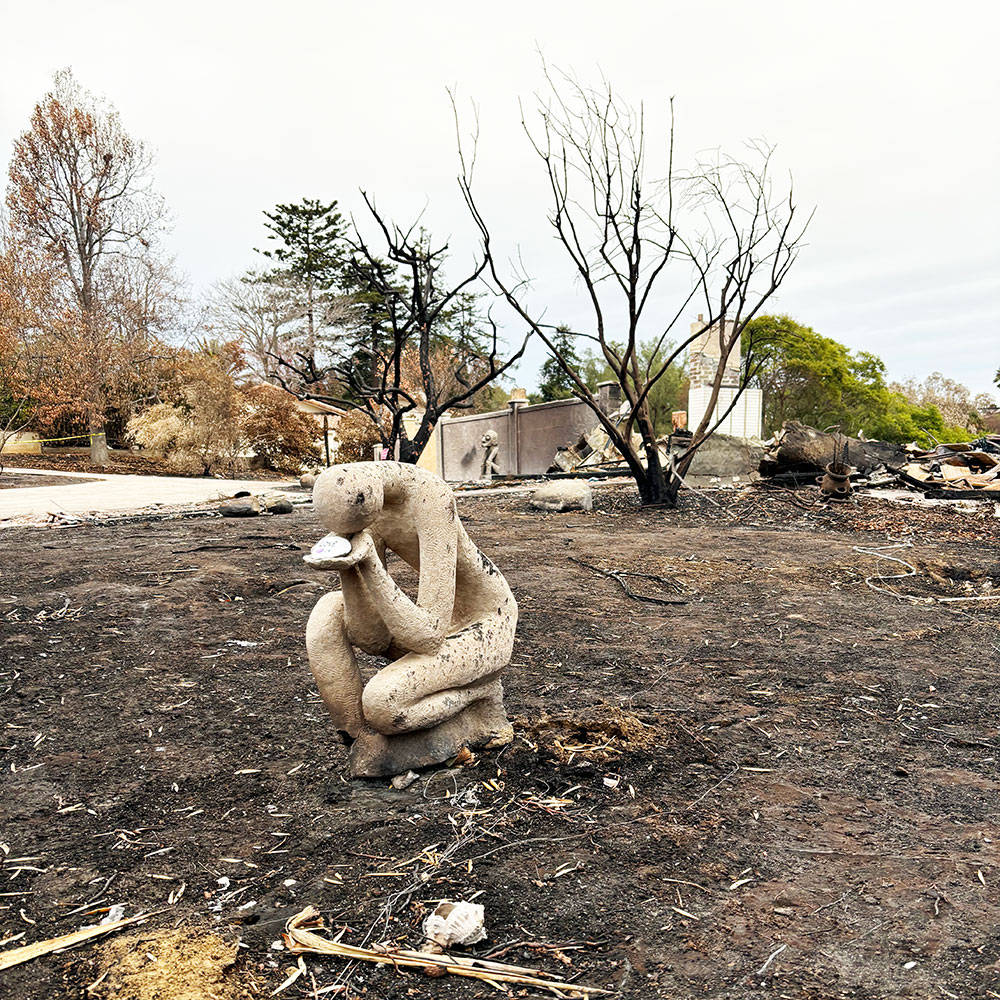
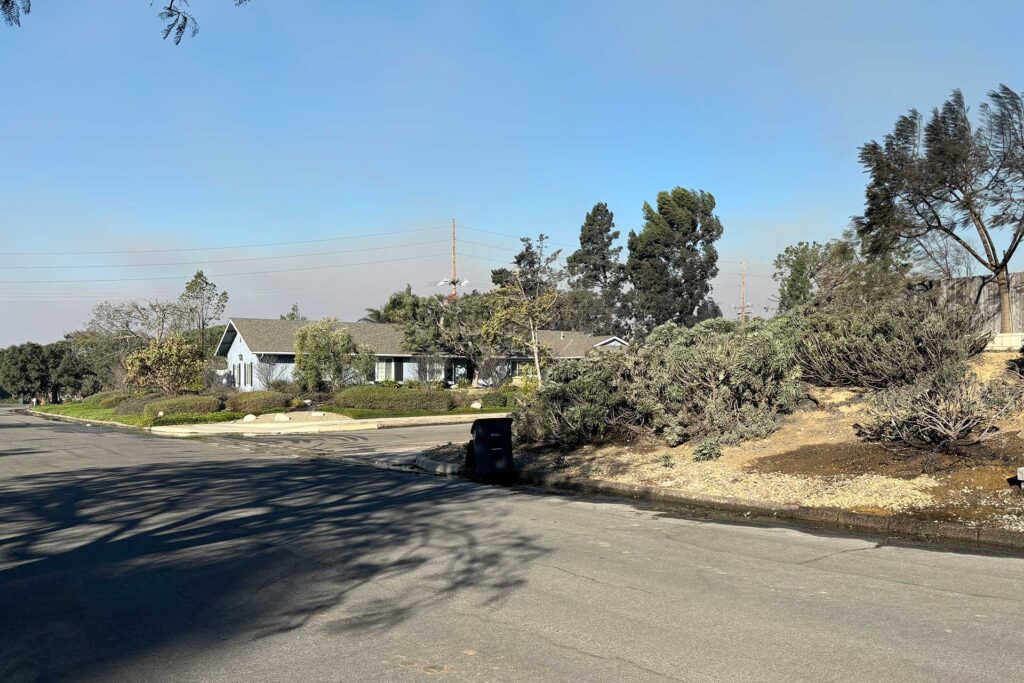
After the Mountain Fire in Camarillo, I spent days walking through my childhood neighborhood, trying to understand why my mom’s house was still standing when so many others were gone. Nine homes at the end of the street had survived; everything around them was ash. Some houses had clearly been consumed from the outside in—roofs and siding catching first. Others had burned from the inside out, after a single ember slipped through a gap and set the attic or walls alight. Confronting that reality made me see how wildfire-resistant home design—sometimes deliberate, sometimes accidental—can mean the difference between a structure that endures and one reduced to rubble.
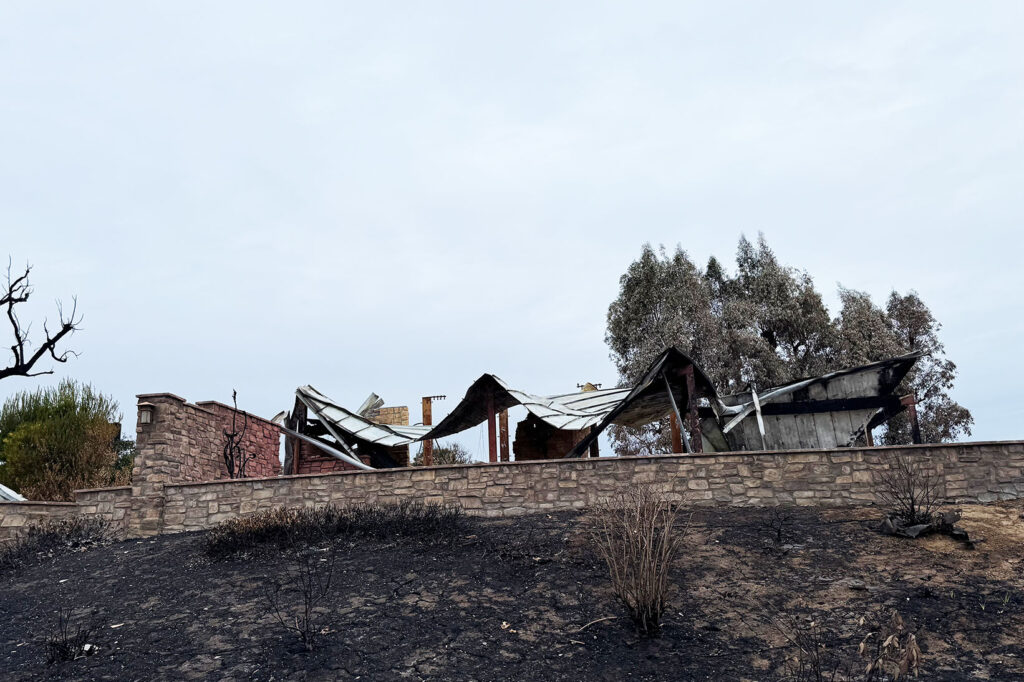
As I walked the neighborhood, I noticed patterns in the destruction—details that didn’t save homes entirely but revealed how different materials respond to fire. Tiled shower walls still stood with their framing gone. Stucco shells stood upright with nothing left inside. A melted metal roof draped like fabric over steel columns. My mom’s house had its own defenses: a metal roof, a concrete block fence, sealed eaves, and artificial turf across the front and back lawns. Those choices may have tipped the balance.
While this fire happened in Southern California, the lessons apply across the West. Wildfire risk is growing in Oregon and Washington, and it’s changing how I think about design. While this doesn’t apply to all areas, it is absolutely critical in risk zones. This isn’t about guarantees—no home is fireproof—but there are decisions we can make as architects and homeowners to improve the odds.
Site Design and Orientation: Working with the Land
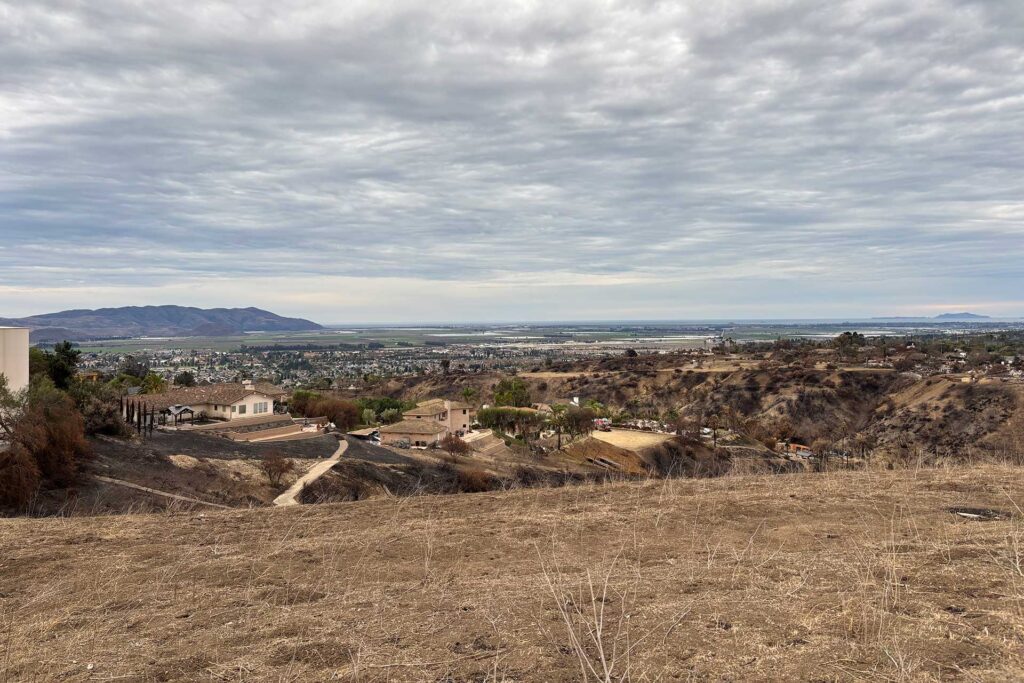
In the Mountain Fire, many homes that burned were along the edges of the barrancas—the steep, brush-filled canyons that cut through the landscape. The fire raced up those slopes, making homes at the rim especially vulnerable. My mom’s house was one street back from a barranca, and that distance may have bought just enough time. It also bordered an uphill slope on one side, which may have offered shelter from the wind and reduced the number of embers hitting from that direction.
When we design new homes, we look closely at how the site’s natural features can either feed a fire or help defend against it. Slope, prevailing winds, and breaks in vegetation all matter. Steeper slopes move fire uphill faster. Saddles and narrow draws can funnel flames toward a building. Open areas like roads, driveways, or even irrigated landscaping can serve as buffers. The goal isn’t to dictate exactly where a home must go. It’s to place it in a way that uses the site’s strengths and reduces its vulnerabilities from the start.
For more on how slope, wind, and setback influence a home’s wildfire risk, the Pacific Northwest National Laboratory’s Design for Wildfire Resistance guide offers a concise, practical overview.
Landscaping and Defensible Space: Beauty That Resists Fire
In the 2010s, my parents replaced the entire front and back lawns with artificial turf—mostly for water savings and low maintenance in Southern California’s dry climate. What they didn’t realize is that it also created a ring of non-combustible surface immediately around the house. It removed what could have been a bed of dry, flammable fuel. After the fire, I found scorch marks scattered across the turf—places where embers had landed and burned briefly before going out. Treated with a fire retardant, the turf had stopped them in their tracks, even just a few steps from the house.
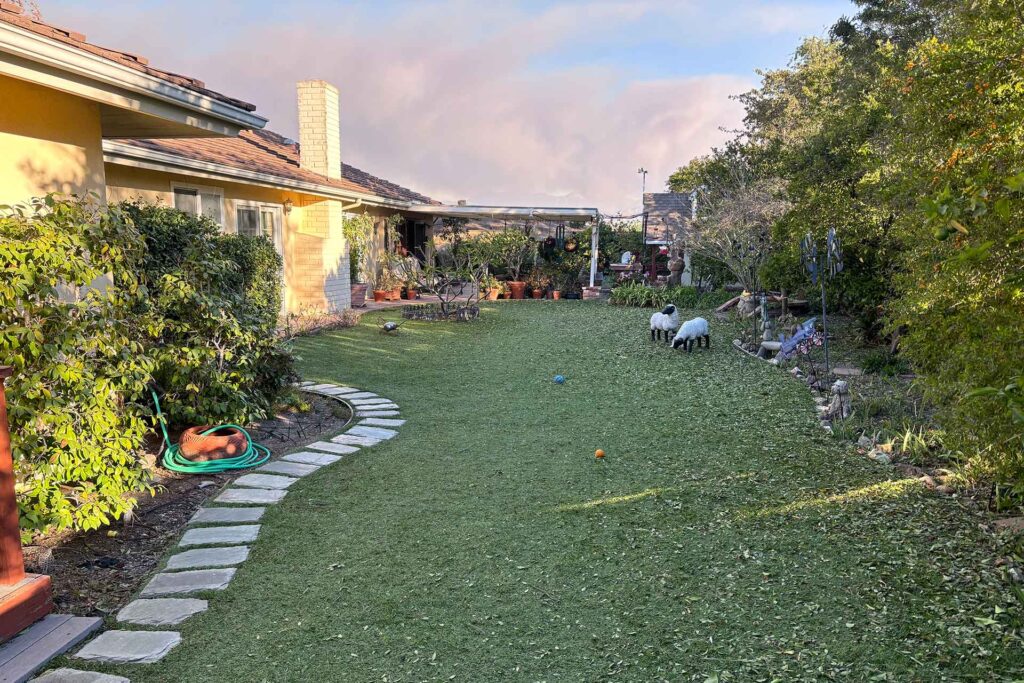

In wildfire design, the first 0–5 feet from the building is critical. This zone should have non-combustible surfaces like pavers, gravel, or turf alternatives. Further, limit plantings in this area and don’t stack firewood against the house. From 5–30 feet, spacing, pruning, and fire-resistant plant selection all help slow a fire’s advance. The Washington Department of Natural Resources has a clear guide to creating defensible space—an essential part of wildfire-resistant home design—with diagrams and plant spacing tips that apply across the West.
Perimeter Defenses: Fences That Fight Flames
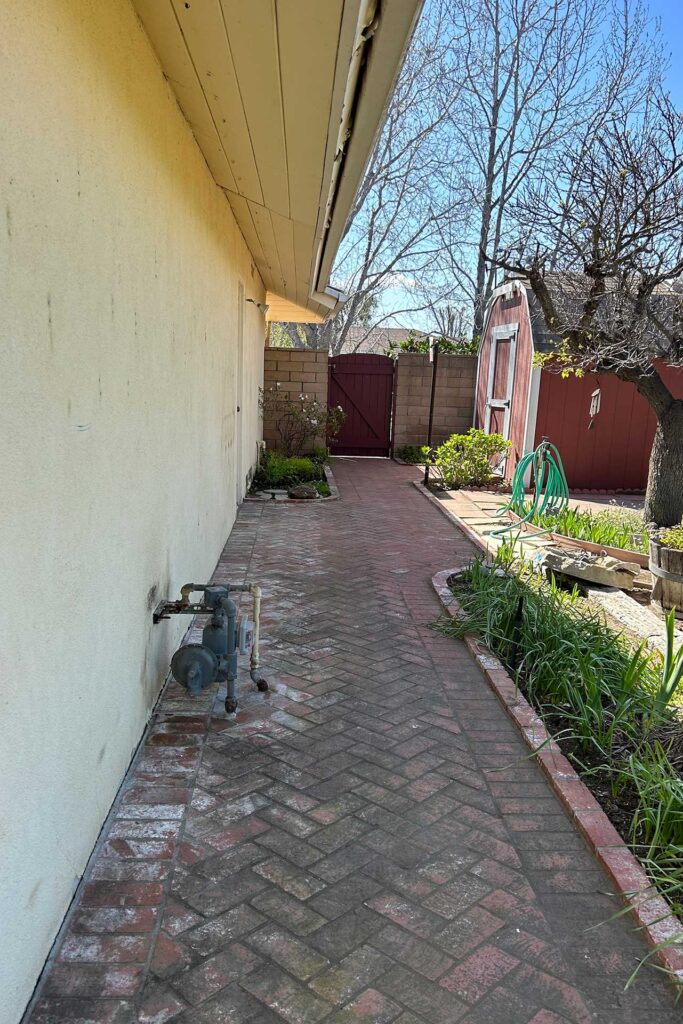
In the 1980s, my dad replaced the old painted cedar fence with a concrete block wall. He chose it for low maintenance and a cleaner look—not as a fire strategy—but firefighters later told us it had absolutely stopped the flames. A couple of other homes on the street with similar block walls also survived.
Masonry and concrete don’t carry fire the way a wood fence can, especially when a fence ties directly into the house. If you’re rebuilding or planning a new home, consider non-combustible fencing in the immediate perimeter and avoid direct wood-to-wall connections. Gates, trellises, and screens can still feel warm and inviting—just keep the first few feet next to the structure non-combustible.
Roofing: Your Top Line of Defense
In the 1980s, my dad replaced the house’s original cedar shake roof with metal. At the time, it was for fire protection and to eliminate the upkeep of wood shakes. Decades later, that choice may have been one of the biggest reasons the house survived.
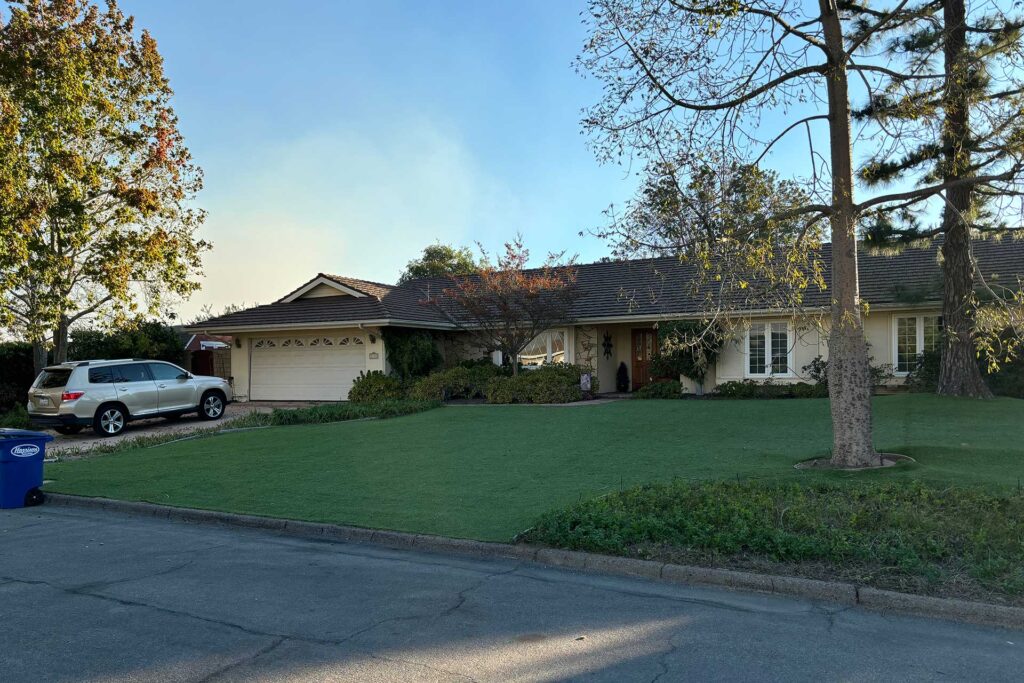
A non-combustible roof is a home’s first shield against wind-blown embers, which can ignite rooftops long before flames reach the walls. “Class A” is the highest fire-resistance rating for roofing, meaning the material can withstand severe exposure to fire. Asphalt composition shingles meet this rating and are the most common—largely because they’re the least expensive. But higher-performing materials, like metal roofing, offer added durability, longevity, and ember resistance.
Equally important are the roof’s edges and ridges—vulnerable spots where embers can slip into small gaps and smolder unseen. Careful flashing, sealed joints, and ember-resistant vents at ridgelines can close off those entry points and help keep a fire from taking hold—small but critical details in any home design aimed at resisting wildfire.
And don’t underestimate upkeep. In our case, dry pine needles from the adjacent trees were always piling up on the roof. Just a few weeks before the fire, I had them blown off. Keeping a roof free of debris is a simple step that reduces ignition risk.
Eaves and Vents: Sealing the Ember Expressway
In the early 1970s, my dad decided he didn’t like the look of the open eaves and exposed rafter tails on their house. With help from his dad, he enclosed the eaves with 1x6s—covering every soffit vent in the process. Decades later, I realized the attic wasn’t venting properly, but in Southern California’s dry climate it hadn’t caused problems yet. What it did do, though—entirely by accident—was eliminate a major pathway for embers to enter the attic.
Open eaves and unprotected vents are prime ember entry points. Once inside, embers can smolder unnoticed and hollow out a house from within—something I saw again and again in my mom’s neighborhood. Closing off those gaps makes a big difference: enclosed soffits, solid blocking, and ember-resistant vents can dramatically reduce this risk.
The University of California offers an excellent guide to vents and ember-resistant vent design that explains locations, materials, and testing. In higher-risk zones, these protections are often required by code; even where they’re not, we design to that standard. The cost is modest, and in wildfire-prone regions, these details are an important part of wildfire resistant home design—often the difference between a close call and a total loss.
Exterior Cladding: A Tough Outer Skin
In the aftermath, I kept seeing stucco standing with nothing left behind it—a stark reminder that non-combustible claddings buy time. Fiber cement, stucco, and masonry can slow ignition and block embers better than many alternatives. In some cases, those extra minutes can mean the difference between a home that’s lost and one that’s still standing when the fire passes.
Material choice is only part of the equation. The way cladding is installed—the tightness of the fit, how corners are finished, how openings are sealed—can make a big difference. Small gaps around light fixtures, hose bibs, and electrical boxes can let embers in, even when the main wall material is fire-resistant. That’s why, when we design, we pay attention to the “in-between” spots as much as the big surfaces. Good detailing can turn a solid exterior into a truly protective skin.
Windows and Glazing: Keeping the Heat Out
In the 1990s, my parents replaced the home’s original single-pane metal windows with high-quality double-pane insulated vinyl units. Vinyl isn’t my first choice today, but these were tight and well-built. When the Mountain Fire surrounded the neighborhood, those windows made a difference. The house had no smoke damage—not even a trace of odor inside—while adjacent homes reeked of it. The windows helped for sure.
In a wildfire, windows are one of the most vulnerable parts of a home. Radiant heat alone can cause glass to crack or shatter, creating an opening for flames and embers long before the fire reaches the walls. Once that happens, everything inside is at risk—and in many cases, that’s exactly how homes in my mom’s neighborhood were lost, burning from the inside out after a single breach.
Tempered glass holds up better under heat than standard annealed glass. It’s manufactured to be stronger and more heat-resistant. Dual- or triple-pane windows provide another layer of defense, especially if at least one pane is tempered. Laminated glass—made by sandwiching a clear plastic layer between two sheets of glass—can also help. Even if it cracks, the glass tends to stay in place.
Placement and design make a difference too. Smaller windows, windows shaded by overhangs, or those set back from exterior walls are less exposed to direct heat and flying embers. Limiting large, unprotected panes on the side of the house most likely to face a wildfire can add protection. That single change can be surprisingly effective.
Fire-Rated Assemblies: Building in Resistance Layers
A fire-rated assembly is simply a wall, floor, door, or ceiling designed and tested to slow the spread of fire. In residential work, we often use them between the garage and house or along property lines. In wildfire-prone zones, they can also be part of a broader home design strategy for making a structure more resistant. Paired with the right cladding and glazing, these assemblies buy precious time, limit damage, and can mean the difference between repair and total loss.
Closely related to assemblies is the overall type of construction—how the entire building is framed, clad, and finished. This also affects how it performs in a fire. The UpCodes guide to construction types explains both fire-resistance ratings and how different construction methods are classified, for anyone who wants to dig deeper.
Better Than Code—for good reason
Building codes set the baseline for fire protection—but a baseline is just that: the minimum. In our work, we aim to exceed code when it comes to safety, durability, and resilience. The cost difference is often far less than people expect, and the peace of mind is worth it.
The truth is, there’s no such thing as a fireproof home. My mom’s house survived because of a mix of smart design choices, material decisions, and sheer luck. And in wildfire country, stacking the odds matters.
If you’re planning a new home or renovating in a fire-prone area—whether in the Pacific Northwest or anywhere in the West—work with an architect who brings wildfire resistant design principals into the project from the start. Thoughtful design can’t eliminate risk, but it can go a long way toward protecting what matters most.